Blog · 9 min read
Draughts
from windows what to do

A practical guide to tracing cold air at the sash, frame and sill, with clear steps you can take yourself and signs that it is time to call a specialist.
Draughts from windows what to do starts with locating the leak: run a hand or a candle along the rebate, the bottom edge and the slopes to see which zone lets cold air in. Leaks at the opening usually call for window sash adjustment or a new seal; leaks at the bottom edge and slopes point to the installation seam.
How to find where the draught actually comes from
A draught is almost always localised in one of four zones: the sash rebate, sill line, slopes or drip edge outside. Find the zone, then the cause.
A four-zone check you can run in ten minutes
- Sash rebate: run a hand along the leaf-to-casing gap on all four sides, closest at handle and hinges.
- Sill line: slide a palm along the casing-sill seam, often hidden under a bead.
- Slopes: feel the bottom corners of the reveals, where the frame-to-wall joint is thinnest.
- Drip edge: inspect the outside metal strip under the leaf, since a loose piece drives wind inward.
How to tell a sash leak from a sill or slope leak
A leak at the leaf feels like a narrow stream at the handle or hinge side, while a sill or slope fault spreads along the whole bottom edge and feels colder near the plaster. Run the back of a hand slowly across the bottom seam: a sash fault gives one sharp cold spot, a frame-to-wall problem gives a broad band. If the leaf is pressed tight and the gasket looks intact but air still comes through, the gap sits in the frame-to-wall joint, not in the unit itself. That cavity is filled with foam and sealed on both sides, and it fails first when the reveal was not primed. Check the slopes for hairline cracks before blaming the hardware.
A simple paper and candle test without a thermal camera
A sheet of thin paper trapped in the rebate and a candle flame moved slowly along the joint show what a thermal camera does, without the equipment. Close the leaf on the paper strip and pull it out at each side: if it slides free with almost no resistance, the seal is not pressing there. For the frame-to-wall seam, hold the candle two to three centimetres away, starting at one bottom corner and working across. Hold the flame low and move it in short steps, because a fast sweep stirs the surrounding atmosphere and the flame reacts to your hand rather than to a draught. A steady flicker toward the room means a leak is present, and where it starts is the source.
Why windows let in draughts even when the sash is closed
A closed leaf does not seal the opening. Air slips past loose pressure, a flattened gasket, an open wall joint or a thin-walled profile, each needing its own fix.
Five reasons a closed window still lets air in
- Loose pressure: hardware no longer pulls the leaf tight, leaving a thin gap along the closing edge.
- Worn gasket: the rubber flattens and hardens, losing compression at corners and on the hinge side.
- Out-of-square frame: a distorted frame or sagging leaf stops the seal meeting evenly.
- Open perimeter seam: the gap between frame and wall admits outside air.
- Too few sealing contours: a thin-walled profile flexes under wind load and opens micro-gaps.
How profile chambers and sealing contours affect airflow
| Profile line | Chambers | Mounting width | Sealing contours / glazing |
|---|---|---|---|
| Deceuninck Favorit | 5 | 71 mm | standard contour set |
| Deceuninck Favorit Space | 6 | 76 mm | 1.5 mm reinforcement |
| Rehau Geneo | multi | — | up to 52 mm glazing, 3 contours |
| KBE 76 | 6 | 76 mm | up to 46 dB insulation |
| Salamander bluEvolution | 6 | 3.3 mm walls | up to 48 dB insulation |
Why a private house and a flat leak differently
A private house usually leaks at the junction and the slopes because the outer wall takes the wind directly, while a flat more often leaks at the sash rebate and the sill line. In a house the wind hits one facade for hours, so the leak is steady and easy to catch with a hand or a candle. In a flat the airflow shifts with the neighbours' doors and the stairwell pressure, and cold draft under the window often appears only in the early morning. That difference matters when you trace the source, because a steady leak points to the wall junction and an intermittent one to the rebate or the sill interface.
What you can adjust yourself to stop a draught
Part of the problem can be removed without a technician — the sash pressure and the seasonal setting. Seal replacement and joint repair are better left to the service team.
Window sash adjustment for pressure and season
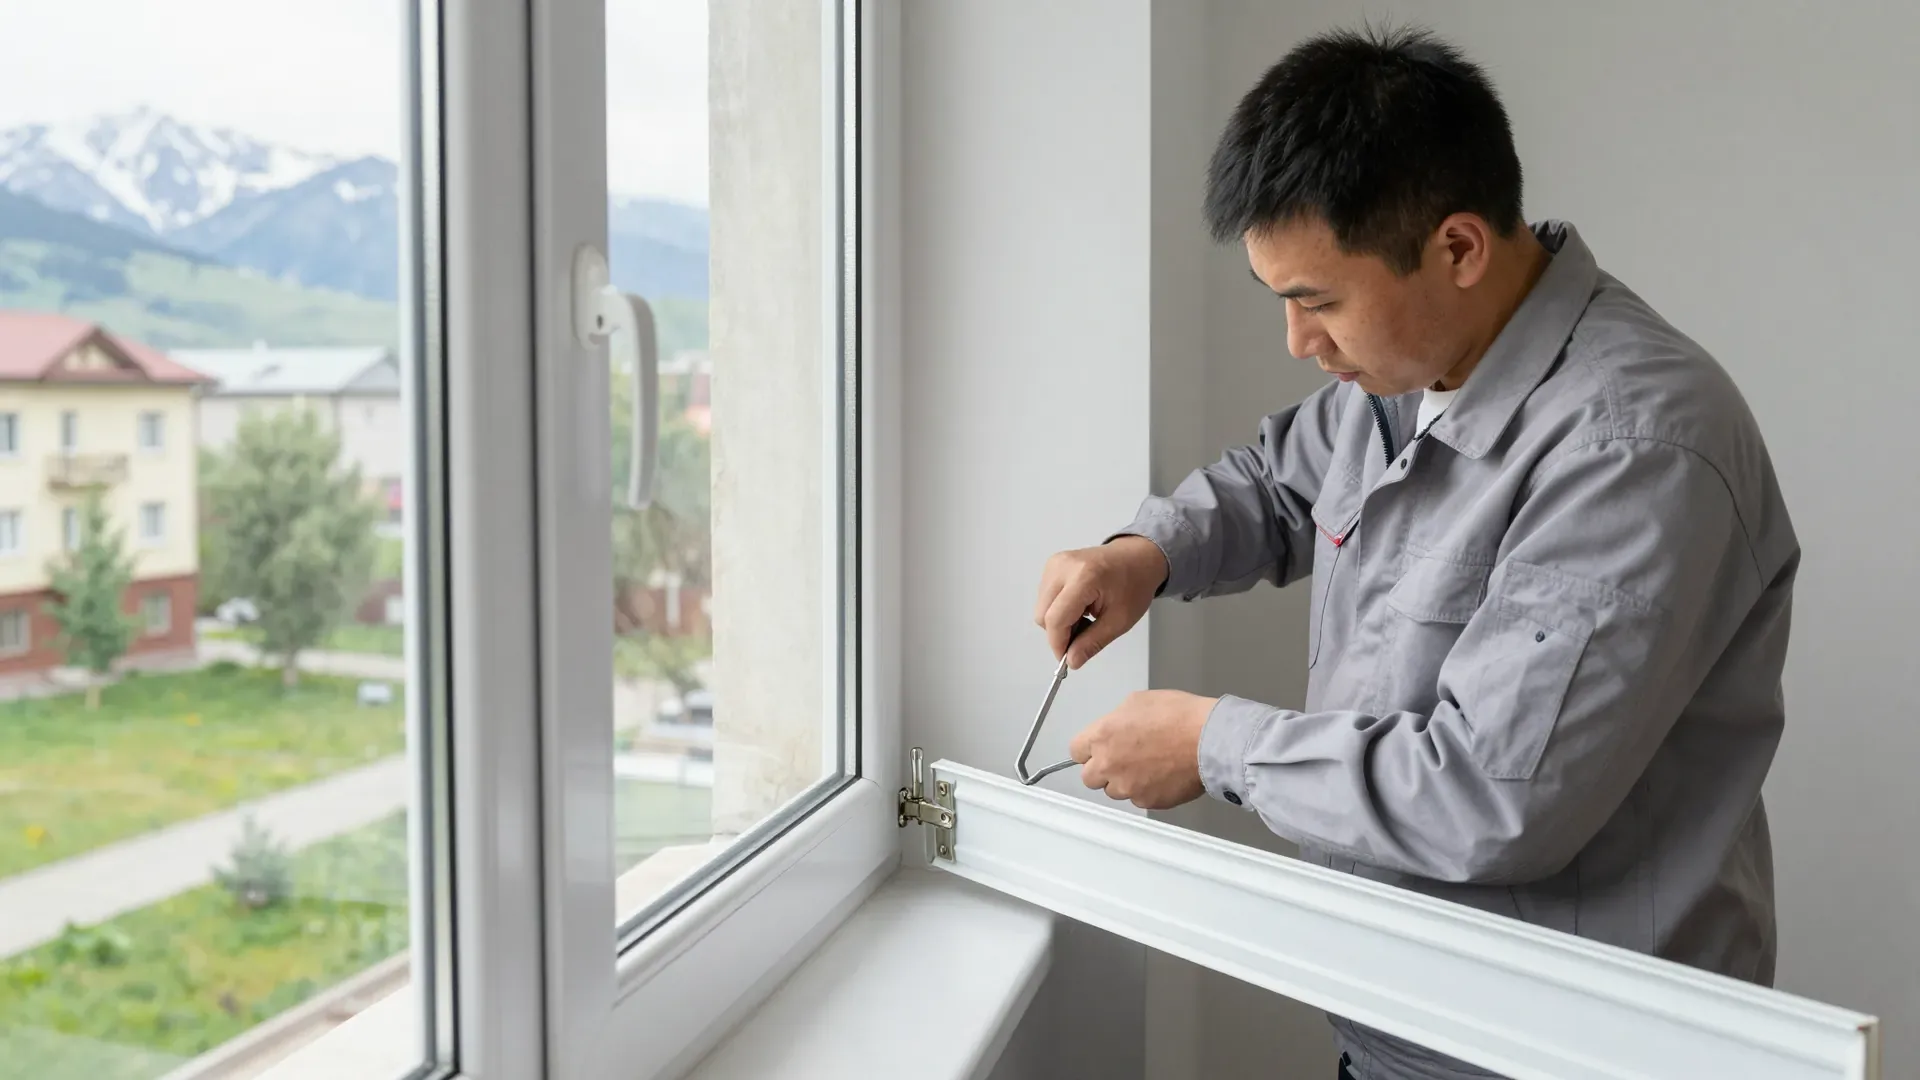
Turning the eccentrics on the sash edge is the first self-fix to try: it changes how hard the seal is pressed against the frame, and the winter position grips tighter than the summer one. On most hardware sets the eccentrics sit on the opening side, and a mark on each shows the current setting — the tighter position usually points towards the room. Turn each a quarter-turn, close the leaf and feel the handle: firm resistance without force means the pressure is right. Keep the winter position for the cold months and switch back to summer when the heating season ends. Over-tightening wears the rubber out faster than the incoming air did.
When a new seal is the answer and when it is not
- Flattened strip: grey or black rubber staying compressed after pressing needs replacing, not adjusting.
- Cracked contour: visible splits let air through, so a fresh strip is the only fix.
- Rubber out of its groove: a gasket that left the channel can be pressed back, but a stretched one will not stay.
- Loose hinge or open joint: air from a sagging pivot or unfilled seam means a new strip will not help.
How often the hardware needs attention
We check the pressure and seal once a season; a leaf opened daily needs adjustment sooner than one that stays closed. A casement used several times a day works its eccentrics loose within a few months, while a fixed unit in a spare room can hold its setting for a year. The pivot side wears first because it carries the leaf's weight, so a quick look at the lower pivot tells you more than the handle does. Our service after installation covers adjustment, seal and handle replacement, and glass unit swaps — 13 services in total. Note the month you last adjusted and repeat it on the same schedule; wear caught early is cheaper than a dropped leaf.
When to call a technician and how the warranty works
The line between a self-fix and a service call depends on where air enters and the unit's age, with different steps for a new window under warranty.
The line between a self-fix and a service call
A self-fix covers panel pressure and seasonal setting; a service call is needed when air enters through the installation seam, slopes, sill or a hinge that no longer holds the casement square. We service units after our own installation and cover 13 procedures, including window sash adjustment, seal replacement, handles and glass units. A hinge that has lost its grip lets the casement sag by a few millimetres, and tightening on the frame side will not restore even pressure along the perimeter. Slopes and the sill are separate: movement there points to the connection rather than the hardware, and adjusting the panel will not close it.
What the warranty covers on a new window
- Frame and leaf: covered for 10 years; a draught from a fresh unit is a warranty case, not a self-fix.
- Hardware and handles: carry their own warranty, so a hinge or handle fault is a claim.
- Sills, slopes and flashings: covered for 5 years, shorter than the frame.
- Seal and joint: a fault through either is checked against the installation record first.
How installation and slopes cause a draught under the window
The leak almost always comes from the installation joint or the slope zone, not the sash. Here is how the installation standard and seismic allowance shape that joint.
Why cold air near the sill points to the joint
Why a draught under the window points to the joint. The cold strip beneath the sill usually comes from the installation seam between the frame and the wall, not from the leaf. That gap is filled with foam, tape and a vapour-tight layer on the room side. When the filling is thin at the bottom, cold flow travels up behind the sill and past the lower slope, so the room feels it at floor level while the moving panel sits tight. The same zone hides the drip cap outside, and a loose cap lets water and draughts work on the foam. The leak is felt before it is seen — run a hand along the bottom edge on a windy day and compare it with the top edge.
What a GOST installation with seismic allowance changes
A GOST installation with a seismic allowance fixes the frame so it cannot shift in the opening, keeping the joint closed and the moving panel square, which stops cold air from coming back. OKNA PLAST installs windows to GOST with allowance for magnitude 9 seismicity, and the fastening pattern holds the frame against small ground movements instead of letting it rock. A rocking frame opens a hairline gap along one edge, the foam compresses on the opposite side, and air finds the path within a season. In a seismic zone the filling must absorb small movements without opening, so the fastening layout matters more than the profile alone. Ask for that layout before signing. The three-layer build-up of the mounting seam and its thermal and sound insulation are set out in GOST 30971.
Where to look for draughts and when to call a specialist
A draught rarely comes from the whole assembly — it starts at one joint, seal line or fixing point, and the fix follows from locating it precisely.
- Find the zone first: check sash rebate, sill line, slopes and drip edge before hardware.
- Match the fix to the cause: leaf leaks need pressure adjustment or a new seal; sill or slope leaks point to the installation joint.
- Winter setting is a tool, not a cure: it tightens the seal, but over-tightening wears the gasket faster.
- A leak in a newly installed unit is a warranty case: photograph the zone on installation day and report it in writing.
- A frame fixed to the wall with a proper joint stays square, keeping sealing contours compressed evenly.