
Blog · 9 min read
Draughts
from windows what to do
Author: OKNA PLAST editorial team
- Published
- Updated
Find where the cold air comes from, check seals and hinges yourself, and learn when a technician is needed.
Draughts from windows what to do starts with finding the source: run a paper test along the moving panel, frame, sill and slopes. Most draughts come from worn weatherstripping, a loose leaf or a cold installation seam. OKNA PLAST builds windows in its own workshop, installs with its own crews and offers service adjustment and gasket replacement.
How to find where the draught actually comes from
A draught is usually pinned down in ten minutes. Split the window into four zones — sash, frame, sill and slopes — and check each separately.
A five-minute paper test along the sash and frame
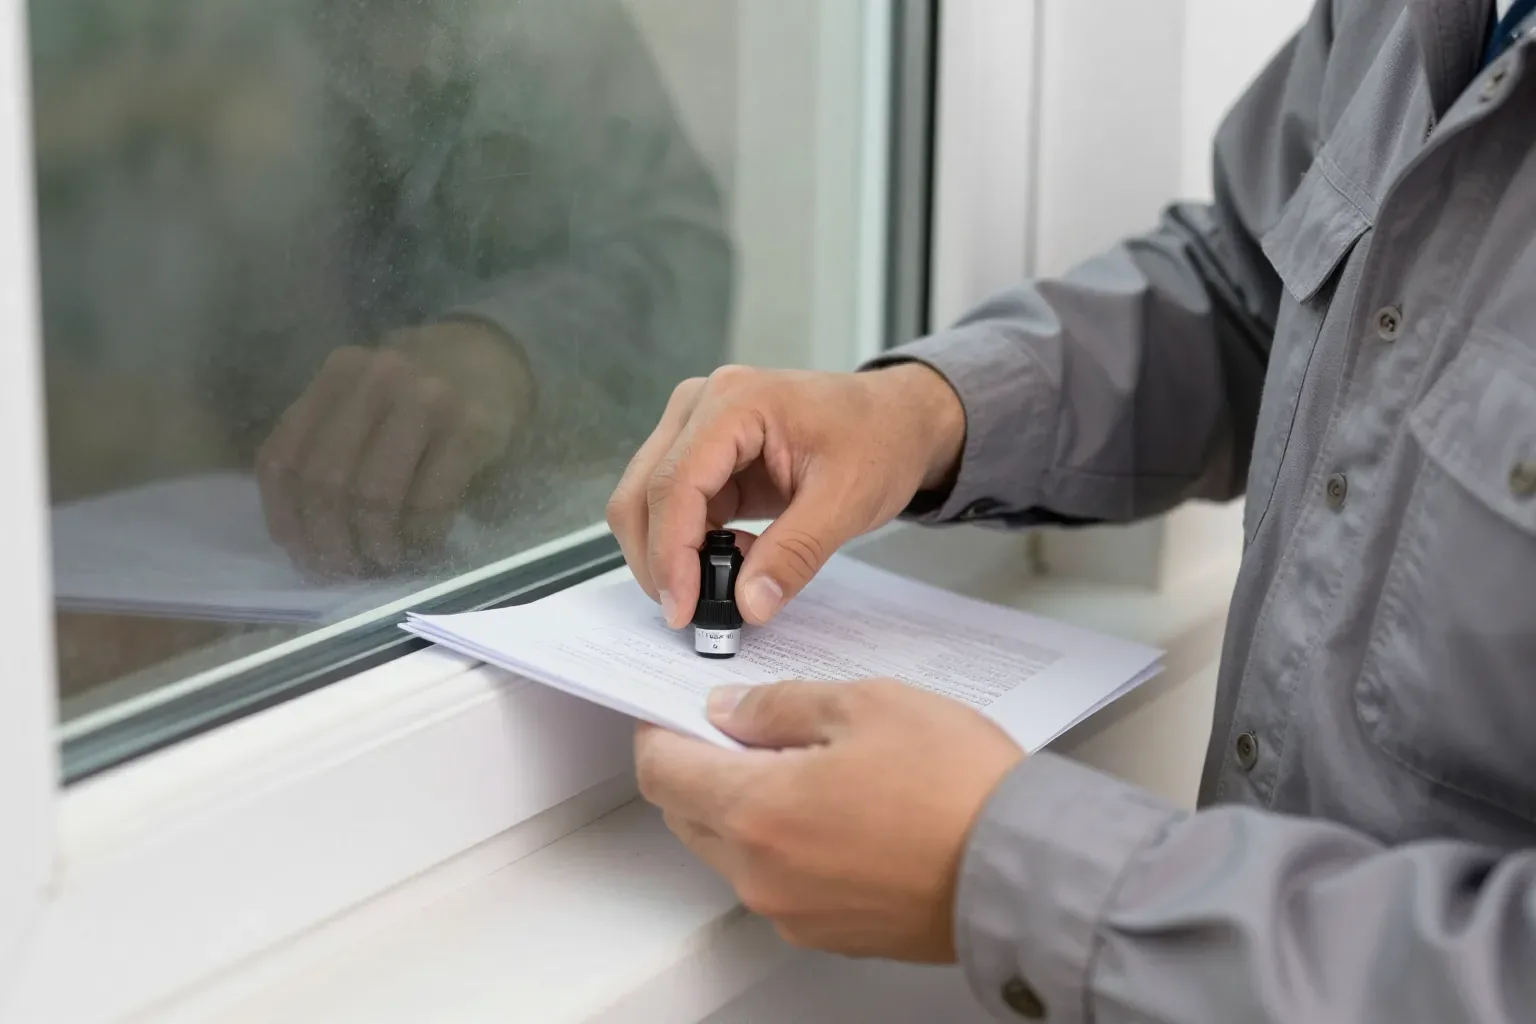
Close the leaf, trap a sheet of paper between it and the frame at four points, and pull it out — if it slides free with no resistance, the pressure is weak there. Work around the perimeter: bottom corner, top corner, middle of each side. The paper should drag on the seal contour and leave a light mark on the fold. Pressure is set by the hardware, which pulls the leaf against the frame through the locking cams. This simple check helps you locate a draught under the window before you call anyone. Test on a windy day and from inside only; a candle flame is less reliable because it reacts to any air movement in the room, not just the leak.
Telling a draught apart from condensation and frost
- Draught: air moves, one spot feels chilled, paper pulls out loosely there.
- Condensation: water beads on inner glass or profile, surface cold, no airflow.
- Frost: ice at the leaf edge or on the glass, surface chilled.
- Glass unit fault: mist between the panes, no airflow, no wet inner glass.
- Seam fault: a cold strip along the sill or slope, not the perimeter.
Four zones to check and what each result means
| Zone | How to check | What it usually means |
|---|---|---|
| Sash perimeter | Paper test at four points | Weak pressure or worn gasket |
| Frame corners | Feel with a hand on a windy day | Profile joint or hardware |
| Under the sill | Run a hand along the joint | Cold installation seam |
| Slopes and edges | Check for condensation and frost | Cold slope or seam |
Why windows let in draughts even when they are closed
A closed sash is not sealed. Three causes explain most air movement from plastic windows: the seal, the hardware and the profile itself.
Seal, hardware or profile — how to tell them apart
- Worn seal: air slips evenly around the perimeter; rubber feels hard or flat.
- Loose hardware: the leak concentrates at one corner, where the sash no longer pulls tight.
- Thin profile: cold passes through the frame, so plastic feels chilled even when locked.
- Seal material: EPDM rubber keeps its shape longest; cheaper foam gaskets flatten within a few seasons.
- Quick check: press a fingernail into the rubber — if the mark does not spring back, it has hardened.
- What this means: no hardware adjustment closes a gap left by a hardened seal contour.
How many seal contours and profile chambers matter in Astana
For Astana's long frosty winters and strong wind, we recommend a multi-chamber profile and a two-chamber glass unit; profiles such as Geneo carry three seal contours. Chamber count and contour count work as a pair: the profile resists the cold, while the contours stop air moving past the sash. A six-chamber frame with a single flattened contour still lets wind through at the handle side. That is why we match the profile series to the flat's exposure, not a single number. Adding chambers helps only when seal contours are intact — a six-chamber profile with a hardened gasket still lets air through.
When the seal needs replacing and when the glass unit is the culprit
- Replace the seal: when rubber hardens, flattens or cracks around the moving panel.
- Check the glass unit: when leaks come with condensation between panes or a cold centre.
- Leave it alone: a cold glass edge with intact gasket and tight hardware is normal in hard frost.
- Our service covers this: panel adjustment, worn rubber seal replacement, handles and glass units — 13 services after installation.
- Care that helps: solvent cleaners harden rubber faster; mild soap and a dry cloth keep it soft longer.
What you can fix yourself with window sash adjustment
Part of the draught usually goes away in one short session with a key and a sheet of paper. Here is what to turn, which tool to use, and where the safe zone ends.
Tools and the pressure check before you touch a screw
- Hex key: a 4 mm key fits most eccentrics on European hardware.
- Paper test: close the leaf on a sheet and pull it out at handle, hinges, top and bottom corner.
- Loose grip: the sheet slides out freely at one point — that corner is under-compressed.
- Tight grip: the sheet tears before it moves everywhere, so pressure is fine and cold air comes from elsewhere.
- Quarter turns: rotate the eccentric a quarter turn and repeat the test.
- Over-compression: a full turn flattens the gasket and makes the handle hard to lock.
What window sash adjustment covers and what stays out of reach
- Pressure: turn the eccentric pin to pull the leaf tight against the gasket.
- Height: lift a sagging leaf with the lower hinge screw until it clears the sill.
- Tilt: level the top corner so the leaf closes with a light push.
- Seal: clean and soften a lightly worn contour before replacing it.
- Stop point: scraping, cracked hinges or a cold seam need the service team for window adjustment.
Adjusting in winter and the seasonal pressure setting
We adjust windows in winter too, setting tighter pressure for the cold season and looser for summer so the gasket is not compressed all year. The eccentric carries marked winter and summer positions on most fittings, and switching takes a few minutes per leaf with the same hex key. In a frosty, windy climate the winter setting keeps the contour pressed against the frame when wind loads the leaf, while the summer setting lets the rubber recover its shape. A gasket kept on maximum pressure through summer flattens faster, so the seasonal setting is worth switching twice a year and we walk new owners through it after installation.
Draught under the window and around the slopes
If the paper test along the sash is clean but air still moves at the bottom or edge, the source is the junction points: sill, slopes and installation seam.
Why a draught under the window is a seam problem
- Frame-to-opening joint: air passes through the frame-to-wall gap, not the sash, so screws won't close it.
- Foam alone: polyurethane foam fills the cavity but doesn't stop wind; air moves through open cells.
- Vapour barrier: the inner layer must run continuously from frame to wall, or warmth meets chilly air.
- Waterproofing outside: the outer membrane keeps rain and wind-driven air out.
- Sill support: a sill without packing and sealing lets air slip underneath.
- Diagnosis order: check the seam before the sash; adjusting a leaking joint wastes the fix.
Cold slopes and what a warm seam does against the capital's wind
Cold slopes and what a warm seam does against the capital's wind. We build a warm installation seam and warm slopes because the capital's strong wind finds any chilly joint, and a chilly slope shows it as condensation first and a draught second. The seam is a three-layer assembly: foam inside the gap, a continuous vapour barrier on the room side and waterproofing on the street side, with the slope insulated so no thermal bridge runs from the wall to the frame. A slope that feels chilly but shows no paper-test draught is losing heat through the wall junction, not the window — insulating that junction changes surface temperature more than any hardware tweak. Layer-by-layer requirements for the mounting joint are set out in GOST 30971.
What we check at the seam and what the warranty covers
| Seam element | What we check | Warranty |
|---|---|---|
| Foam fill | Full depth, no gaps | 10 years on windows |
| Vapour barrier | Continuous inside layer | 10 years on windows |
| Sill and flashing | Support and seal | 5 years |
| Slope finish | Warm, no cold bridge | 5 years |
When to call the service team instead of fixing it yourself
Some cases survive a correct adjustment, with the cause in the joint, edge or glass unit. Here is how to tell those apart and what our service team covers.
Signs that the cause is not the hardware
If the problem stays after a correct adjustment, or returns within days, the cause sits in the mounting joint, the profile edge or the glass unit rather than in the pressure setting. Water staining on the slope, a cold strip along the perimeter and a leaf that rubs at the bottom corner point away from hardware. On a two-chamber unit, condensation between the panes means the sealed edge has failed. A gap that opens by a millimetre or two lets air through along the whole height, not at one point. A leak returning after each screw turn usually means the sash has dropped and needs re-hanging.
Why it feels stronger in winter and wind
Cold air is denser and wind raises the pressure on the facade, so a small gap that is silent in summer becomes a noticeable leak in the frosty windy winter of the capital. A leak that only shows up in wind is often on the windward side of the building, so check the same window on a calm day before deciding on a repair. A multi-chamber profile cuts air movement through the frame itself, but it cannot close an opening in the mounting joint or a failed sealed edge. In this climate the warm seam and warm slopes do as much work as the profile.
What our service team does and how to reach it
- Adjustment: technician sets sash height, tilt and pressure.
- Seal replacement: new contour when the old hardens.
- Handles and hinges: worn parts swapped under hardware warranty.
- Glass units: swap when condensation sits between panes.
- Contact: requests daily 9:00–19:00, WhatsApp reply within 10 minutes.
How to match the fix to where the draught comes from
A draught rarely means a full window replacement. Below are the key checks to decide what to handle first and what to leave to a service visit.
- Locate before you tighten: paper-test the sash, frame, sill and slopes before touching any screw.
- Read the pattern: worn rubber leaks evenly, loose hardware pulls one corner, cold sits under the sill.
- Adjust what is safe: pressure, height and tilt take a quarter turn; winter setting preserves the gasket.
- Watch for a comeback: a returning leak or frost points to the junction or glass unit.
- Respect the climate: in a frosty windy city, a warm joint and multi-chamber profile matter as much as the gasket.