
Blog · 9 min read
Window adjustment
for winter
Author: OKNA PLAST editorial team
- Published
- Updated
How the two pressure settings differ, which way to turn the hex key, when to switch in Astana and what to check before you call a technician.
Window adjustment for winter means tightening the sash pressure so the gasket seals against wind and frost, then loosening it again for summer. In Astana the long cold season and strong wind make a correct, even pressure along the whole perimeter more important than in milder climates. Most hardware can be switched by hand.
Why Sash Pressure for Winter Window Adjustment Matters in Astana
Window adjustment for winter is not a warmth button — it sets how firmly the sash presses the gasket. Here is why that setting matters more in a frosty, windy city than in a mild climate.
What Winter and Summer Mode Actually Change
Winter mode moves the locking cam so the panel presses the seal harder, while summer mode releases that pressure to let it recover. The eccentric sits on the sash edge and meets the striker plate on the frame; a quarter turn shifts the contact point and changes how deep the panel sinks into the seal. This is the whole of the winter summer window mode — no extra insulation, no added heat, just a different gap between the moving leaf and the frame. Window sash pressure is therefore a mechanical setting, not a thermal one. A seal kept under maximum compression all summer loses its rebound faster, so the two-position cycle is what keeps the gasket elastic for years — the moving part itself barely shifts.
Why Astana Wind and Frost Raise the Bar
In Astana the long frosty winter and strong wind load the perimeter unevenly, so we check pressure at every locking point rather than at one. Wind pushes hardest on the windward side, and that is usually the hinge corner, where the gasket is thinnest against the frame. Our own production runs multi-chamber profiles and double-glazed units, and the warm mounting seam and warm slopes matter as much as the hardware; still, a leaf that seals at the handle but leaks at the hinge corner reads as fine in a still room and fails on the first windy night. So test with a sheet of paper at each locking point — it slides out freely where the contact is weak.
The Over-Tightening Trap
Turning every cam to its hardest stop does not add warmth, it only flattens the seal and makes the handle stiff. The eccentric has a working range, and past the last mark the leaf simply crushes the gasket instead of seating on it; the handle then needs extra force, and the corner joints of the profile take that load. A seal crushed flat over one season stops springing back, so the sash starts to leak in the very cold it was meant to keep out. Set the cams to firm contact, not to the limit, and leave the seal room to recover when summer mode returns.
Reading the Hardware Before You Touch It
Before you turn anything, locate the eccentric cam and read its marking. In one flat the sashes often carry hardware from different makers, and the same gesture means opposite things from one unit to the next.
Finding the Cam and the Right Tool
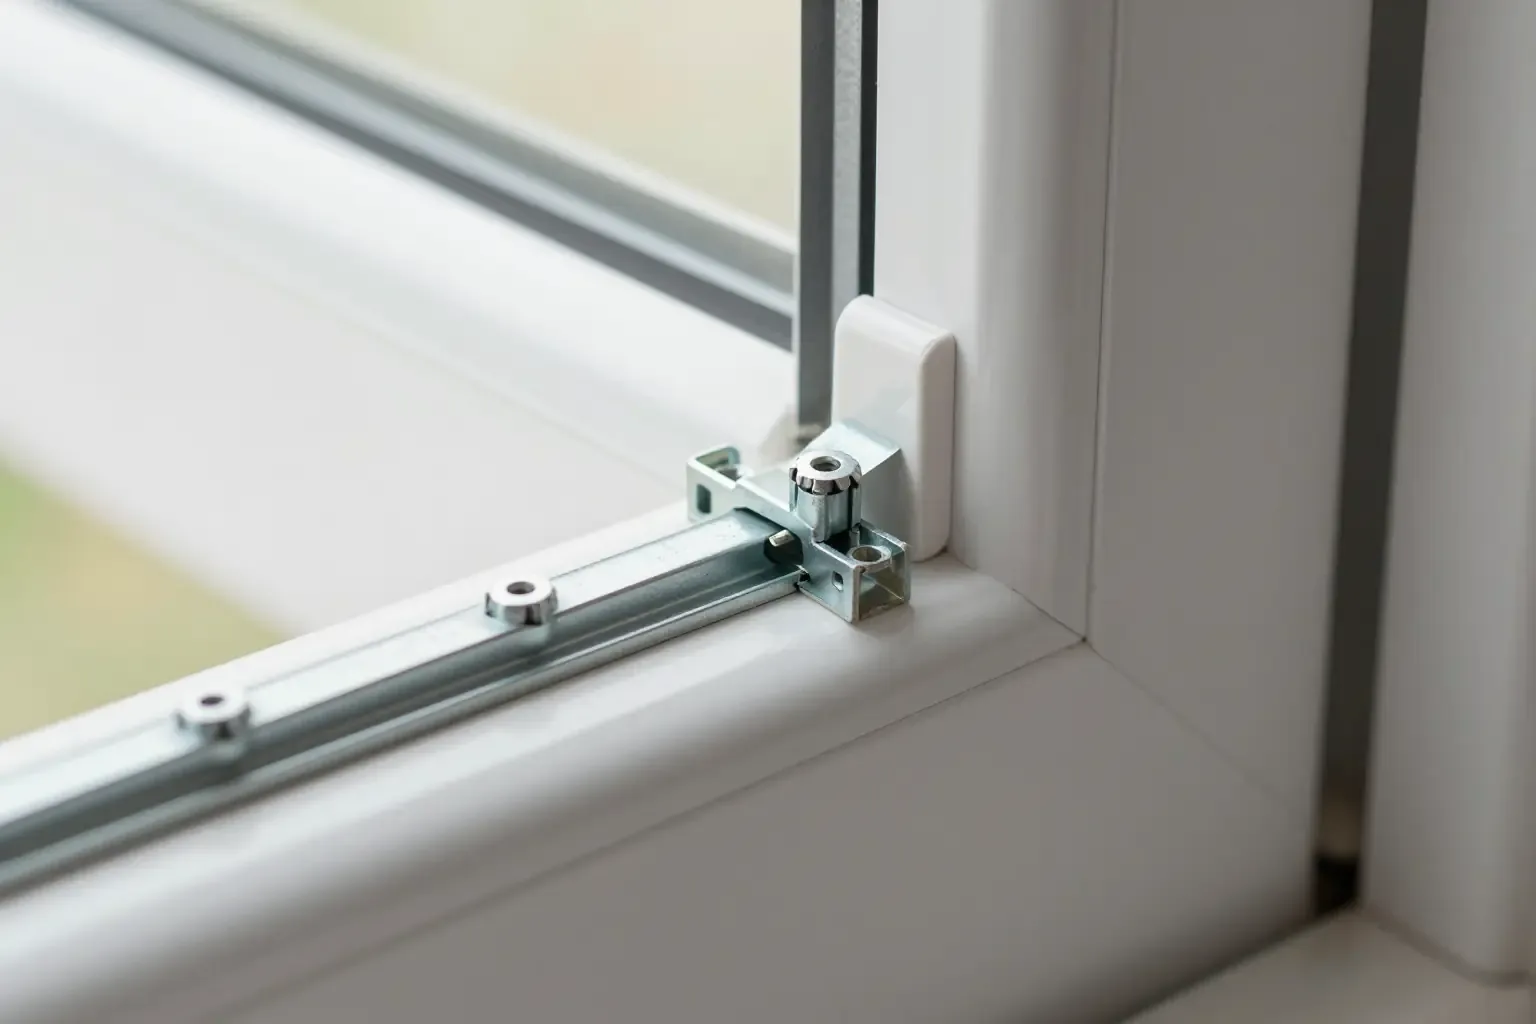
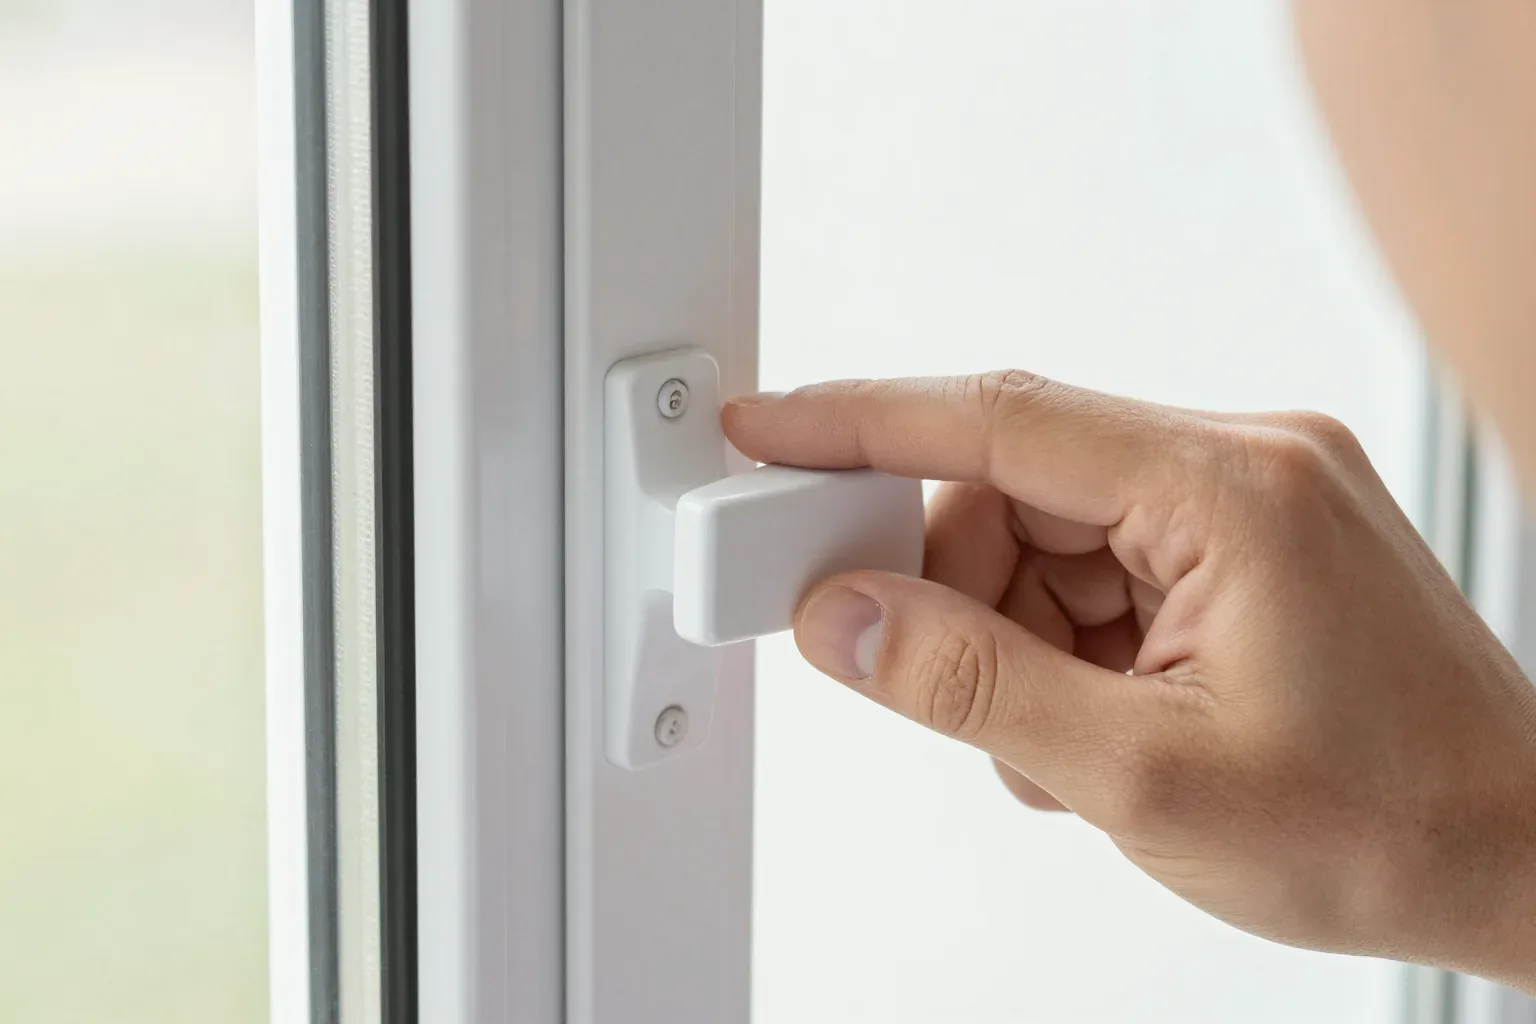
The eccentric sits on the face of the sash edge at handle height, and most units turn with a 4 mm Allen key. Run a finger along the rebate until you feel a small oval or round plate — that is the eccentric, and it moves the leaf against the frame rather than the frame against the leaf. The matching striker plate fixed on the frame shows exactly where the mechanism locks, so you can watch the gap close as you turn. Some units take a Torx T15 instead of a hex key, and forcing the wrong bit rounds the soft metal in seconds. Look for the plate on the leaf edge, not on the frame — the frame side holds only the striker, and turning it does nothing.
Decoding the Marks on Different Brands
| Hardware family | Mark on the cam | Winter position | Summer position |
|---|---|---|---|
| Roto-style | Dot and line | Dot toward the gasket | Line toward the gasket |
| Maco-style | Snowflake and sun | Snowflake inward | Sun inward |
| Siegenia-style | Numbered notches | Higher notch | Lower notch |
| Generic oval cam | Single raised tick | Tick toward frame | Tick away from frame |
How to Switch Window to Winter Step by Step
Knowing how to switch window to winter takes minutes per sash, but the order matters — from finding the mark to checking pressure evenly around the whole perimeter.
The Adjustment Sequence
- Open the sash: release the handle and swing the leaf fully open so every cam on the edge is reachable.
- Locate the marks: find the dot, line or snowflake on each locking point and note the current position.
- Turn a quarter step: rotate toward the winter mark with a 4 mm key, then close and test the handle.
- Repeat on every cam: work along the leaf edge and the hinge side, not just the handle corner.
- Check the seal: slide a sheet of paper between the leaf and frame at each point and feel the drag.
Checking Even Pressure Around the Perimeter
We test the fit at every locking point with a paper strip, because a leaf that grips at the handle can still leak at the hinge corner. The strip should pull out with the same resistance at the top, bottom, handle side and hinge side; a loose point means that single eccentric needs another quarter turn toward the winter mark. Strong wind in Astana raises the demand on evenness across the whole perimeter, since one slack corner lets cold air push through even when the rest of the leaf is sealed. If the paper pulls out freely at one point while it grips elsewhere, adjust that single mechanism rather than tightening the whole leaf — over-compressing the other cams wears the gasket and makes the handle stiff. The paper-strip test and specialist-run checks of seal contact are described in the MACO user guide.
When Drafts Stay After Adjustment
If airflow survives the switch to winter mode, window sash pressure is not always the culprit. Three sources account for most chilled air getting in: the sealing strip, the mounting seam and the hardware itself.
Gasket, Seam or Hardware
| Symptom | Likely cause | What to check |
|---|---|---|
| Draft along the sash edge | Weak or worn gasket | Strip compression and cam position |
| Chill from the frame line | Mounting seam | Foam and vapour barrier at the reveal |
| Handle turns hard, still drafts | Over-tight cam | Pressure at each locking point |
| Condensation on glass edge | Glass unit or seal | Spacer and strip condition |
| Draught only on windy days | Mounting seam | Foam and vapour barrier at the reveal |
When the Gasket Is the Problem
A strip that stays flat after you press it has lost its rebound, and no cam position will bring the seal back. Run a finger along the contour: a soft, springy surface recovers within a second, while a hard one keeps the groove and lets chilled air slip past the window leaf. Multi-contour profiles hold two or three sealing lines, so one worn contour breaks the whole barrier even when the others look fine — the strip is only as good as its weakest line. Our service covers exactly this case — adjustment, strip replacement, handles and glass units. Check the sealing line once a season, before the first hard frost: a fresh contour restores the barrier that turning the hardware alone cannot.
What Our Service Covers and When to Call Us
Some tasks on a window take minutes and need nothing but a hex key — basic DIY hardware adjustment is one of them; others call for the team that built it. Here is where the line sits.
The Self-Service Line
- Do it yourself: moving the cams between the winter and summer marks on standard fittings, a few minutes per leaf.
- Do it yourself: wiping and lightly greasing the moving parts and hinge points once a season with a neutral lubricant.
- Do it yourself: the paper test at each locking point to confirm the pressure is even around the perimeter.
- Call a technician: a cam that will not turn, a jammed grip, or a draft that comes back within days of adjustment.
What Our Service Includes
Our service after installation covers adjustment, gasket replacement, grips and glass units, and the same team that built and fitted the units handles it. The scope runs to 13 service items, so a leaf that has lost its grip, a seal flattened at the hinge side, or a fitting that no longer latches is dealt with in one visit rather than passed between contractors. Cams and grips stay under warranty. We produce the units in our own workshop and install with our own crews, so the visit is handled by the same team that built and fitted the order — the technician already knows which profile series and which locking points are in front of him. A gasket hardened over several Astana winters is replaced as part of the same service visit. When booking, mention the order details and the job is done in one pass.
What determines the outcome of seasonal adjustment
Seasonal adjustment is a small, reversible maintenance act that keeps a sash sealing through the Astana winter. The five points below compress the whole procedure into what matters most.
- Mode is pressure, not heat: the winter setting pulls the sash tighter against the gasket, while the summer one lets the seal recover its shape.
- Read the marks first: a dot, line, snowflake or numbered notch shows the position on every hardware family.
- Work in small steps: a quarter turn per cam, tested after each change, keeps pressure even around the perimeter.
- Check every locking point: a paper strip at each cam catches the corner that still lets air through.
- Know the limit: worn gaskets and cold seams need service, not another twist of the key.